Monday, June 10, 2013

Raw Kale Chips - (Dehydrated)

I love kale chips!  I buy them every time I have a chance to pick some up at a health food store!  I don't own a dehydrator or I would have been making them myself for years now.  Lucky for me, a sweet friend of mine offered to loan me hers last weekend AND a yummy recipe so I could give it a try!  They turned out simply delicious and now I'm thinking of a investment in a dehydrator!!  It does take some time, but the good thing is once you press "power", you just let it go and you don't have to hover over it all day!

Nutritional Yeast
Oh, before I get started, I wanted to mention that my recipe calls for Nutritional Yeast- this is what it looks like.  A bit lit potato flakes, light-weight and a bit more yellowish, but almost like dehydrated potato flakes!
No, I didn't know a thing about nutritional yeast, but I have been seeing it in a few recipes here and there of late.  It is a deactivated yeast used by many vegetarians as a source of protein and some brands have also added B12 to their yeast.  It has a rather cheesy flavor which makes it a perfect choice for these raw chips!
You can find Nutritional Yeast at most health food stores.


First, it is important to buy some really nice organic Kale.  Sometimes you can find this at your local grocery store or you an always find it at a health food store. Wash the kale, shake off excess water and then cut out the center ribs with a very sharp knife.  The tear the leaves into bite size pieces in preparation for dehydrating.


Allow leaves to air dry thoroughly on a dishtowel or spin in a salad spinner to dry.
While your kale is drying, prepare the dressing/seasoning for the kale.  Just use a small bowl and add all the ingredients together using a spoon, stirring until well blended.  Once you have the seasoning blend ready and the kale is dry, you are ready to season the kale.  Do so by taking a handful of kale and placing in the seasoning bowl; use your hands to coat each leaf; making sure to coat all the nooks and crannies.

They should be coated but not dripping.  Remove these to a separate bowl and continue till all the leaves are coated.    Once they are all coated, start filling the dehydrator trays.  You don't need to leave much space in between leaves, they will shrink anyway, so pack them in!
Set your dehydrator on 115 and turn on the power!
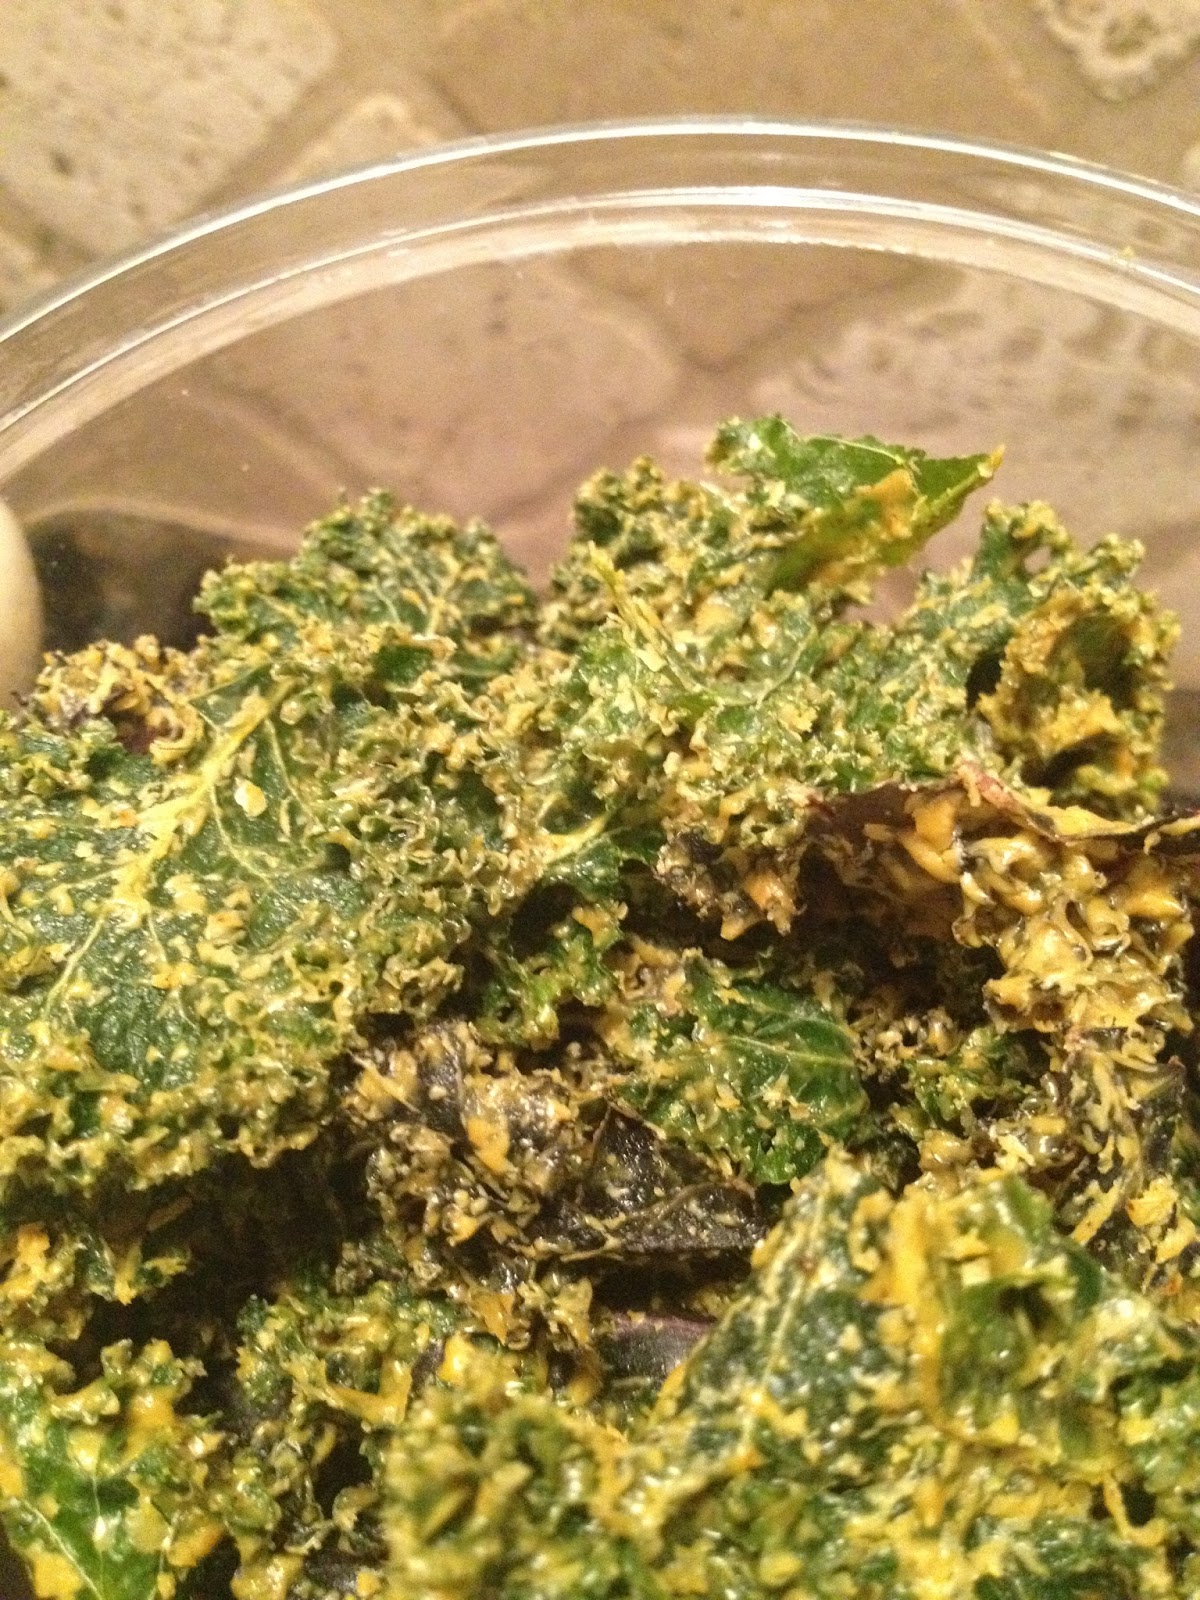

Kale Chips!

After about 6 hours, your kale should be done, nice and crispy.  If you take a piece out and it's not crunchy throughout, leave it for another 30 min. and test one again.  If your kale was really thick or you got a lot of seasoning on some, it may take a bit longer.  You can remove those that are done and let others go another hour if need be.

Double the batch if you like- there are never enough!  Ours were gone in 1 day!  Delicious!

If you'd like the recipe, feel free to drop me a email at d_dawson63@hotmail.com!


Monday, October 22, 2012

The grapes are almost ready!

My grapes are looking healthy and juicy this year!  I have one grapevine in the backyard that runs up the fence and has been going now for about 4 years (I purchased a concord plant in a 4 qt bucket at that time).  The first year was slim pickings but every since has been just going crazy and I really look forward to picking and juicing!
This is how they look around the beginning of September and we pick after the first freeze, generally here in Utah that means around the first of October.  You can see there are still a few green ones but for the most part they look good enough to eat right now, though they are somewhat tart still.  The last month or so they really plump up and get super sweet!  One vine can really produce plenty of juice for a small family like ours.
I've learned how to trim back the vine over the years and how to keep it healthy and growing strong without over or underwatering it.  This plant is actually pretty forgiving though- give one a try!  Juicing is so fun and easy and you'll just be amazed at how this juice tastes -so much better than the Welch's juice you can buy at the supermarket!!  And the antioxidant levels in grape juice are very high!

UPDATE:  I got so busy this year in October that when it was time to juice, I almost felt I wasn't going to be able to get the job done!  My sweet mother-in-law and father-in-law came to my rescue and helped me pick all the grapes one day and they took them home and juiced FOR ME!  Wow!  They got 31 quarts from this one vine!  I was so grateful for the help; my shelves are stocked and we're ready to enjoy the grape juice all winter long!  I do plan on making some jam in the next few weeks too!  This grape does not make the best freezer jelly (doesn't ever really set up -too runny), but makes a nice cooked jam!


Monday, September 24, 2012

Try freezing your fresh tomatoes

Tomatoes
I saw this great suggestion/post on Homesteading/Survivalism's facebook page a month or so ago.  I don't know why I'd never thought of this before, but since they posted it; I thought it was worth a shot!  So, I had a dozen or more tomatoes today and washed them, cored them and gave a quick squeeze to get out some liquid/seeds and popped them in a gallon bag.  They look great and hopefully they will taste great when I pull them out in a few months to make soup or something yummy! Great idea for fresh tomatoes- IF you have space in the freezer!

Bringing Fall indoors

I love to look out into the backyard in the fall and see our beautiful grasses coming to life!  Unlike most plants in the garden, grasses don't look their best until mid-summer and my favorite look is in the fall when you start to see plumes coming on (here in Utah it's the first of September).  These make a beautiful arrangement for "indoors"!  Cut them when they are green or after they have turned brown and use them again and again each year.  You can cut grasses like Silver Grass early or wait until they have opened up a little for the more fuzzy look or combine several different varieties to a fun look.  Here is photo of the grasses in my yard today and a fresh cut arrangement I made this morning.  Below that, are a few more that I made last fall and pulled out today to place in some more vases.
Late September - Silver Grasses
Fresh Cut today - Silver Grass plumes


Arrangements from last fall - 2011- different varieties
(tuck them in a garbage bag -to avoid fuzzies floating around -when you store them)

Thursday, September 20, 2012

Grill Cleaner - Wild Orange Essential Oil

I cleaned our filthy grill recently with one of my favorite essential oils - Wild Orange!  Check out these photos and see why this will be my number one choice from here on out. I know, I know, it was so dirty it was embarrassing!   Truly, we hadn't cleaned it all summer long and you could really see all the grease built up over the summer- ick!  Formerly, I'd use a Grill Cleaner from the store or a Stainless Steel Cleaner but since I had my Orange Oil handy I thought I'd give it a try.  I knew that Orange oil (and frankly most citrus essential oils) was great at taking off sticky labels on picture frame glass and since the grease was so tough/sticky I thought maybe it would work the same.  So, I just put a few drops right on top of the black grease, spread it around a bit to cover well, then I let it sit for just about 2-3 minutes.  Then I wiped clean with a paper towel!  The areas that were super tough, I had to do twice, but really, it came off without even having to rub hard.  I must admit I used about 3/4 of a  small 5ml bottle, but still it's CHEAP and no harmful chemicals going into the air or into my lungs!  You'll notice our grill is old (about 8 years old) and does have some normal wear/tear and discoloring which oils can't help, but overall, I think the oil worked really well- I'd give it a A+!  Note to self:  Next time, try diluting the orange oil with a carrier oil and see if it works just as well in a diluted state.
BEFORE
After


More.... Before
After

Tuesday, September 18, 2012

Time to Harvest Nashi (Asian Pear)

We have been waiting for this week all summer!  The Nashi (Japanese for "pear") are ready and perfect for picking!  Our home is situated in a subdivision which was formerly a farm full of Nashi and peach trees.  The farm was owned by the Akagi family.  How lucky we were to have Nashi trees in our backyard that were mature and producing nicely when we moved into the neighborhood!  We take care of them and prune, thin every season and find that if we take good care we can have a really nice harvest every year unless the spring brought on storms when the blossoms were still on the trees.  Now and then we have a poor harvest due to bad weather in the spring, but it's rare.


Here is some of our bounty from yesterdays' picking!  These fruit are fully ripe when they turn yellow but are very good even when they have a little green still showing.  They are simply juicier and sweeter when yellow.  Once they turn yellow,  get them in a very cool storage or the refrigerator.  They will keep at least a month in a cool/cold area (some say 3 months, but by then the texture starts to change and they get a little soft).  I have tried to make juice/jelly before and I must say I prefer them in the RAW - just cut one and eat it or put it in a nice salad!  The juice/jelly simply require too much sugar to make it tasty in my opinion.
Everyone loves them!
They are juicy and crispy pears!  The kids love them and we've never shared them with anyone who didn't like them!  Yesterday when we were picking, several people walked by our fence line where a few trees hang over the fence.  One apologized -said that he picked our fruit while walking the day before and the other was a biker that just said "Can I have one of your asian pears? I love them!"  Of course, we said!  We understand that our trees are about 30 years old and they are of the Twentieth Century variety.  These go for about a buck a piece at Costco, so we are grateful to have them so plentiful in our yard and we love to share them with friends so if you come over in September, bring a bag with you and grab a few!


Wednesday, September 12, 2012

Zucchini Scrambled Eggs

Harvest 2012
Here is some of my harvest this summer-we are only a family of three so we have trouble eating all that just a few plants produce by ourselves!  It's so rewarding and fun to grow vegetables in your own backyard- have you tried it?  Grow them in a pot if you have to -on your back porch, but do try it sometime!  Start with just a few simple things like a tomato plant and a few herbs or if you have a lot of space you can't go wrong with zucchini or cucumbers.  Those two really spread out so you've got to have room and basically you can't kill a zucchini plant - they seem to thrive no matter how you mistreat them!  All you need is some decent soil and in my yard, I don't even really need to weed much around these plants, simply toss a few snails out of the way every week or so-super easy to tend!  I seem to get through most summers without having to use any bug spray or anything, so there you go- your own organic garden!   I love to add some shredded zucchini in our scrambled eggs in the morning! Try it- they are delicious! It makes your eggs nice and moist plus you get some "green" into your mornings!   I just throw the zucchini in the skillet first with a bit of olive oil, let them cook for just about 2 minutes, then toss in the eggs and cook until done!